PHOTOSHOP: Burn Dodge Sponge Tools
Photoshop: Using The Burn, Dodge & Sponge Tools
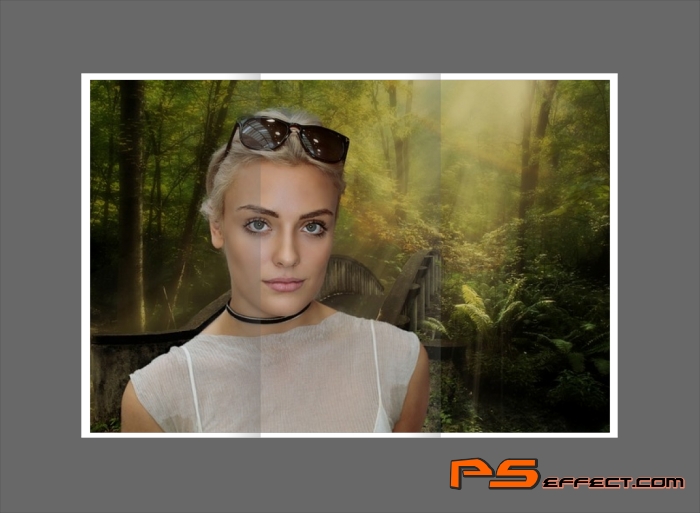
Many times you will find that you need to adjust the lighting effect of a particular area. Fortunately Photoshop comes equipped with features that allow just that! As you might imagine, the ‘Burn’ tool is used to darken an area of an image. In contrast, the ‘Dodge’ tool is used to lighten areas. The ‘Sponge’ tool is used to change saturation of colors for a particular area.
To use these tools you will need to select the appropriate tool from the Toolbox. According to which tool you select to use the ‘Options Bar’ will change also. Upon experimentation you will find that the Burn tool and the Dodge tool have the same options available for your use.
On the ‘Options Bar’ you can select the type of brush as well as the size of the brush that you want to use. You will find that other brush options are also available – to display those simply click on the arrow on the upper right corner of the brush palette.
The ‘Options Bar’ also has a feature that allows for the adjustment of ‘Exposure’ and/or ‘Pressure’ percentage (between 10% – 15%). This one feature allows you precise control over the amount of lightening, darkening, or saturation that you choose to use. The lower the percentage the less drastic the effect will be.
While using either the ‘Burn’ tool or the ‘Dodge’ tool you have the option of selecting shadows, midtones, or highlights from the ‘Range’ drop-down menu. The ‘Sponge’ tool allows you the option of selecting either ‘Saturate’ or ‘Desaturate’ – use the ‘Mode’ drop-down menu on the ‘Options Bar’. Utilize the use of your mouse to create the desired effect.
These tools provide easy and precise control when making darkening or lightening adjustments to an area of an image. Adjustments to the saturation of colors can result in truer to life color levels.